关于中转站 API 密钥配置到 opencode.json 的记录

关于中转站 API 密钥配置到 opencode.json 的记录
Austoin这篇文章记录我在 OpenCode 中配置中转站 API 密钥到 opencode.json 的过程,包括为什么要这么做、具体步骤,以及一些注意事项。
第一步当然就是在中转站创建一个密钥了,这里我用的coffee shop 中转的订阅进行操作。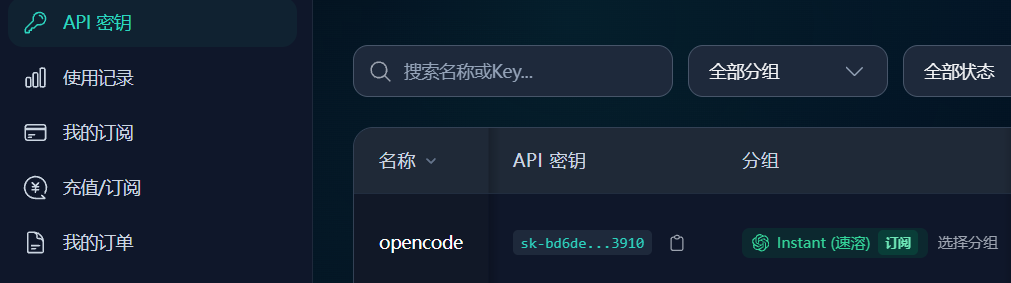
然后复制密钥。
在你们的 .config (C:\Users\用户名.config) 文件中找到 opencode\opencode.json 文件,将密钥填入其中。我选择配置的是中转的GPT模型:
1 | { |
然后就可以启动终端的配置命令了。
1 | opencode auth login |
选择 GPT 的配置: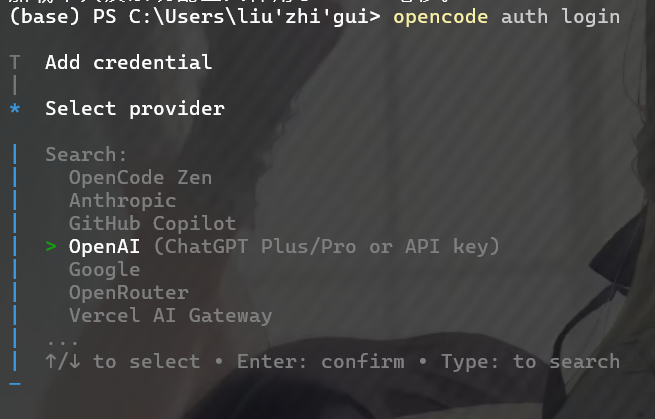
输入你在中转站复制的密钥,回车。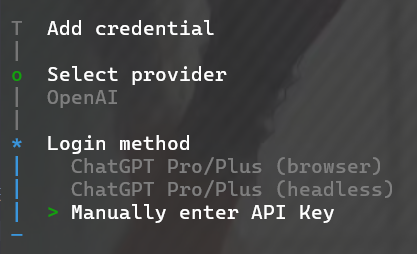
然后就配置好了,输入 opencode 进行启动,测试一下模型能不能用,可以去中转站看看有没有使用记录。